Linoleum flooring is a durable, affordable, and eco-friendly option for homeowners who want a long-lasting floor without the high cost of hardwood or tile. It works well in kitchens, hallways, bathrooms, and laundry rooms because it can handle heavy foot traffic and regular cleaning. Installing linoleum is manageable even for beginners, as long as you follow the right steps and use the proper tools.
This guide explains everything you need to know about how to install linoleum flooring, from preparing the subfloor to finishing the edges. Each section includes both detailed paragraphs and helpful bullet points to make installation easier to follow. Whether you’re renovating a room or updating an older floor, this step-by-step guide will help you create a smooth, strong, and attractive finish.
What Is Linoleum Flooring?

Linoleum is a resilient flooring material made from natural ingredients like linseed oil, wood flour, cork dust, and natural pigments. It is pressed onto a burlap or canvas backing, creating a flexible but durable sheet. Many homeowners choose linoleum because it’s long-lasting, easy to clean, eco-friendly, and available in many colors and patterns.
Benefits of Linoleum
- Made from natural, biodegradable materials
- Soft underfoot and comfortable to walk on
- Water-resistant and stain-resistant
- Budget-friendly compared to tile or hardwood
- Can last 20–40 years with proper care
- Comes in rolls, tiles, or click-together planks
Understanding the material helps you choose the right style and thickness for your home before installation begins.
Tools and Materials You’ll Need
Having the right tools makes installation faster, smoother, and more accurate. Before you begin, gather all the necessary supplies:
Tools
- Utility knife with sharp replacement blades
- Tape measure and straightedge
- Pry bar or scraper
- Notched trowel (if using adhesive)
- Pencil or chalk line
- Floor roller or rolling pin
- Level
Materials
- Linoleum sheet, tiles, or planks
- Flooring adhesive (if needed)
- Underlayment (optional but recommended)
- Seam sealer
- Floor patch or filler
- Double-sided flooring tape (for some products)
Having everything ready ensures the installation runs smoothly and avoids last-minute trips to the store.
Step 1: Prepare the Subfloor
A clean, flat, and dry surface is essential for a successful installation. Linoleum shows imperfections, so preparing the base is one of the most important steps.
Inspect the Subfloor
Check for:
- Cracks
- Low spots or dips
- Loose boards
- Water damage
- Uneven areas
If you find issues, repair them before continuing.
Clean the Surface
- Sweep all dust and debris
- Vacuum cracks and corners
- Scrape away glue or old flooring residue
Repair Damaged Areas
Use floor patch or filler to smooth:
- Holes
- Seams
- Gaps
- Rough spots
Once patched, let it dry completely before placing linoleum.
Step 2: Remove Old Flooring (If Needed)
Some floors must be removed before installation. In other cases, linoleum can go over the existing surface, but only if it is smooth and stable.
When Removal Is Necessary
- Old flooring is peeling
- Surface is uneven or textured
- Water damage is present
- Layers are stacked too high
Tips for Removing Old Flooring
- Use a scraper to lift old tiles or sheets
- Remove stubborn adhesive with a heat gun
- Wear gloves and a mask to avoid dust and fumes
Removing old flooring ensures your new linoleum adheres properly and lies flat.
Step 3: Measure the Room
Accurate measurements reduce waste and prevent mistakes during cutting.
How to Measure
- Measure the length and width of the room
- Add at least 2–3 inches extra on all sides
- For irregular rooms, break it into smaller sections
Why Extra Material Matters
- Allows trimming for precise edges
- Helps match patterns
- Ensures full coverage around corners and doorframes
Taking your time with this step prevents costly errors later.
Step 4: Cut the Linoleum
Cutting linoleum properly ensures a perfect fit. A sharp utility knife is essential for clean, smooth cuts.
Cutting Tips
- Roll out the linoleum in an open space
- Let it relax and flatten before cutting
- Use a straightedge for long cuts
- Cut slowly to avoid jagged edges
Dry Fit Before Gluing
Place the cut sheet or tiles on the floor without adhesive to check:
- Alignment
- Fit around edges
- Space around doorframes
- Pattern direction
Dry fitting allows you to adjust before committing.
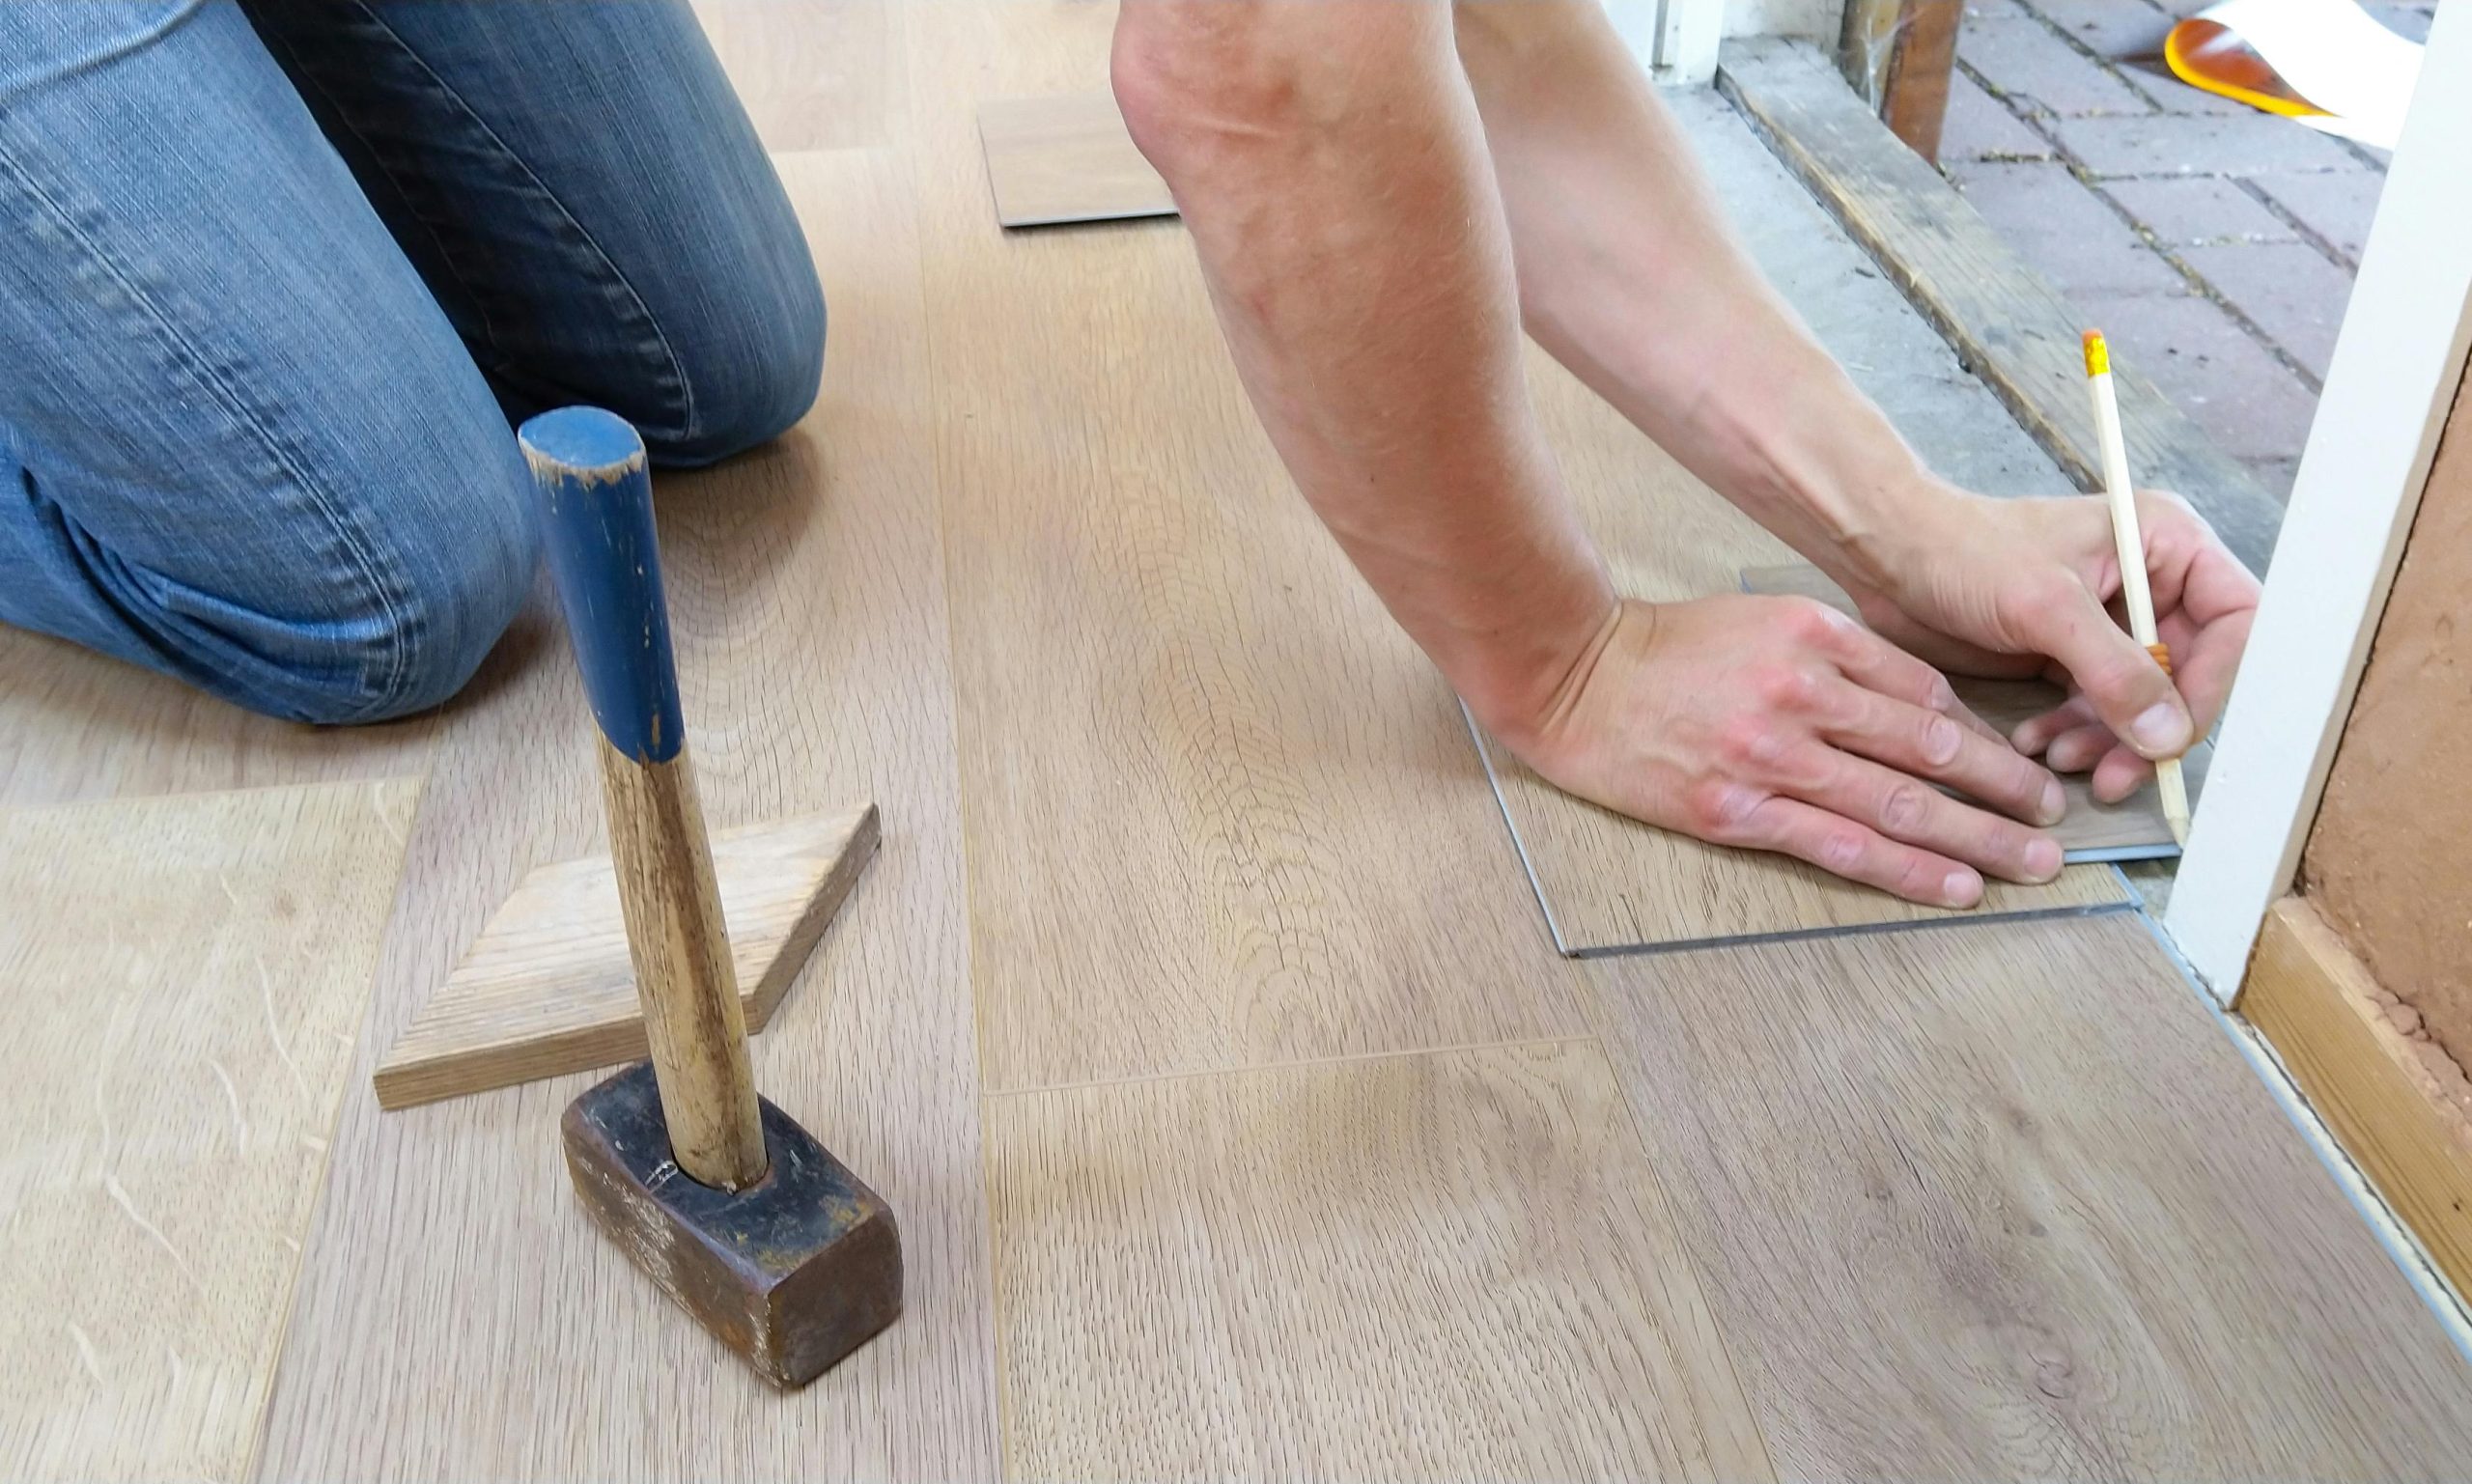
Step 5: Install the Linoleum
There are three main installation methods depending on the product type: full glue-down, perimeter bonding, or floating floors.
Method 1: Full Glue-Down Installation
This method is common for sheet linoleum and provides the most secure bond.
How to Apply Adhesive
- Lift half of the sheet back
- Spread adhesive using a notched trowel
- Work in small sections
- Press linoleum down slowly
- Repeat for the other half
After Setting It Down
- Smooth out air bubbles with a floor roller
- Push from the center toward the edges
- Wipe off adhesive squeeze-out immediately
Full glue-down provides long-term durability and prevents shifting.
Method 2: Perimeter Bonding
This method uses adhesive only around the edges, making installation easier and faster.
Best For
- Small rooms
- Low-traffic areas
- Budget-friendly installs
Installation Steps
- Apply adhesive around the room’s perimeter
- Lay the linoleum sheet
- Smooth the center outward
- Trim edges carefully
Perimeter bonding still provides strong adhesion while allowing future removal or replacement with less effort.
Method 3: Floating Linoleum Floors
Some linoleum products snap together like laminate flooring.
Benefits
- No adhesive needed
- Easy to replace damaged planks
- Ideal for beginners
Installation Basics
- Lay underlayment first
- Start from the longest wall
- Snap planks together
- Leave an expansion gap around walls
Floating floors give a clean, finished look with minimal mess.
Step 6: Trim and Fit the Edges
Once the flooring is set, trim the edges for a perfect finish.
Edge Trimming Tips
- Use a sharp blade
- Cut slowly along the wall
- Leave a small expansion gap if required
- Use a template for tricky corners
Proper trimming ensures the flooring looks smooth and professional.
Step 7: Seal the Seams
Sealing is important if you installed sheet linoleum or tiles.
How to Seal Seams
- Clean seams and edges
- Apply seam sealer evenly
- Wipe away excess
- Allow to dry fully
Sealing prevents moisture from seeping below the flooring and increases lifespan.
Step 8: Reinstall Baseboards and Trim
Finish the job by reinstalling your trim and baseboards.
Finishing Steps
- Nail trim back into place
- Caulk gaps if needed
- Check for loose spots around edges
Baseboards give the installation a clean and polished look.
Post-Installation Care

Keeping linoleum in good shape starts right after installation.
During the First 48 Hours
- Avoid heavy foot traffic
- Don’t place furniture on the floor
- Keep pets away
- Maintain room temperature
Long-Term Care
- Sweep daily
- Mop weekly with mild cleaner
- Avoid harsh chemicals or abrasive scrubbers
- Use floor protectors under furniture
Linoleum is easy to maintain as long as you treat it gently.
Common Mistakes to Avoid
Avoiding mistakes helps ensure your floor lasts for decades.
Mistakes to Watch For
- Not letting linoleum acclimate before installation
- Applying too much or too little adhesive
- Cutting too much material at once
- Ignoring bumps or imperfections in the subfloor
- Skipping seam sealing
Paying attention to these details leads to a smoother installation.
Safety Tips for Installing Linoleum Flooring
Installing flooring involves tools and adhesives, so safety should always come first.
Safety Guidelines
- Use knee pads to protect your joints
- Wear gloves when cutting
- Keep blades sharp to reduce slipping
- Ventilate the room when using adhesives
- Move furniture with sliders or help
Safe installation protects both you and your home.
Preventive Care for Your New Linoleum Floor
Once your linoleum flooring is installed, keeping it looking new requires simple habits that protect the surface from wear and damage. Many of the same gentle cleaning habits used when learning how to clean linoleum floors naturally also apply to maintaining newly installed flooring.
Basic Preventive Tips
- Place mats at all entrances to catch dirt and debris.
- Sweep high-traffic areas every day.
- Wipe spills immediately to prevent staining or warping.
- Use felt pads under furniture to prevent scratches.
Long-Term Care
- Apply a protective sealant every few years to maintain shine.
- Keep indoor humidity stable to prevent expansion or shrinking.
- Avoid dragging heavy furniture across the floor.
- Refinish worn or dull areas as needed.
Consistent preventive care keeps linoleum durable, attractive, and protected for many years.
Conclusion
Installing linoleum flooring yourself can save money, improve your home’s appearance, and give you a durable, long-lasting surface. With the right tools, proper preparation, and careful installation, even beginners can create professional-looking results. Whether you’re updating a kitchen or refreshing a bathroom, linoleum is a practical and stylish option that works for many homes.
By following the steps in this guide and using the tips for long-term care, your new floor will stay beautiful, strong, and easy to maintain for many years.